
Arduino Processing PHP
Da bi mogli arduino kontrlirati preko mreže na najjednostavniji način
možemo iskoristiti kombinaciju PHP-a i processinga.
Da ovdje ne bih ulazio preduboko u instalaciju apache servera i php-a
najbolje nam je ovako.
Tko ima volje i želje može si sam instalirati apache i PHP i ako sve podesi kako treba, raditi će mu jednako kao i nama :)
Prvo kreiramo tri fajla index.html, led.php, LEDstate.txt
i u njih ubacimo ovo :)
u index.html ide
<html>
<head>
<title>LED ON/OFF</title>
</head>
<body>
<!-- This is just for aesthetics, centering the
content within the paragraph -->
<p align="center">
<font size="8">

<!-- This part is a a link, which also sends a request to the php-document,
telling it to write 1 or 0 to LEDstate.txt -->
<b><a href="led.php?state=1">ON</a></b> /
<b><a href="led.php?state=0">OFF</a></b></font>
</p>

</body>
</html>
u led.php ide
<?php
$onoroff = $_GET["state"]; // Declares the request from index.html as a variable
$textfile = "LEDstate.txt"; // Declares the name and location of the .txt file

$fileLocation = "$textfile";
$fh = fopen($fileLocation, 'w   ') or die("Something went wrong!"); // Opens up the .txt file for writing and replaces any previous content
$stringToWrite = "$onoroff"; // Write either 1 or 0 depending on request from index.html
fwrite($fh, $stringToWrite); // Writes it to the .txt file
fclose($fh);

header("Location: index.html"); // Return to frontend (index.html)
?>
a file LEDstate.txt ostavimo praznim, tu će se spremati trenutno stanje LED diode…
Kasnije ćemo ove fajlove kopirati drugi direktorij pa ih spremite negdje na sigurno.
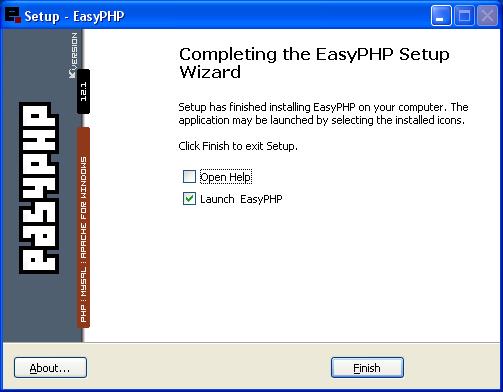
Instalacija servera i ostalo ide ovako …
Odemo na stranicu
http://www.easyphp.org/download.php
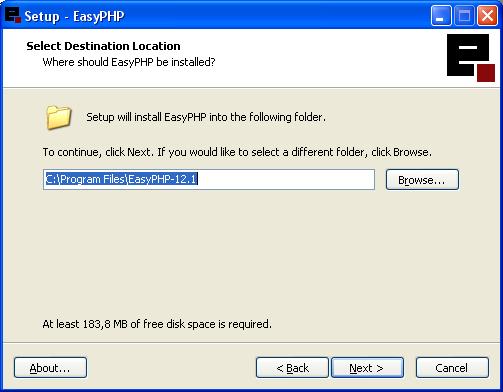
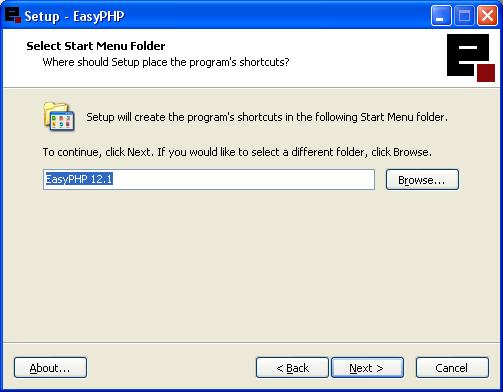
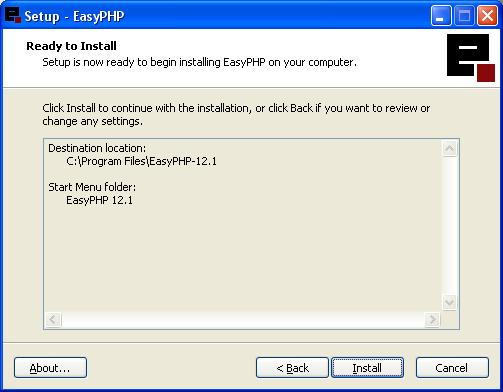
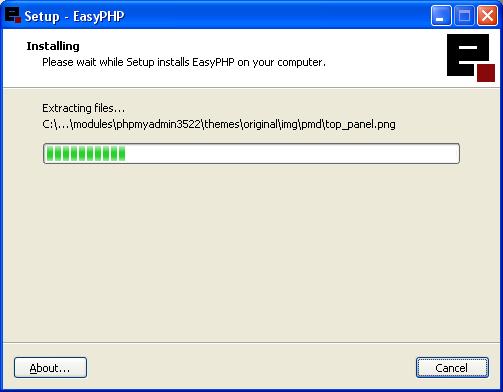
Preuzmemo instalaciju EasyPHP-a
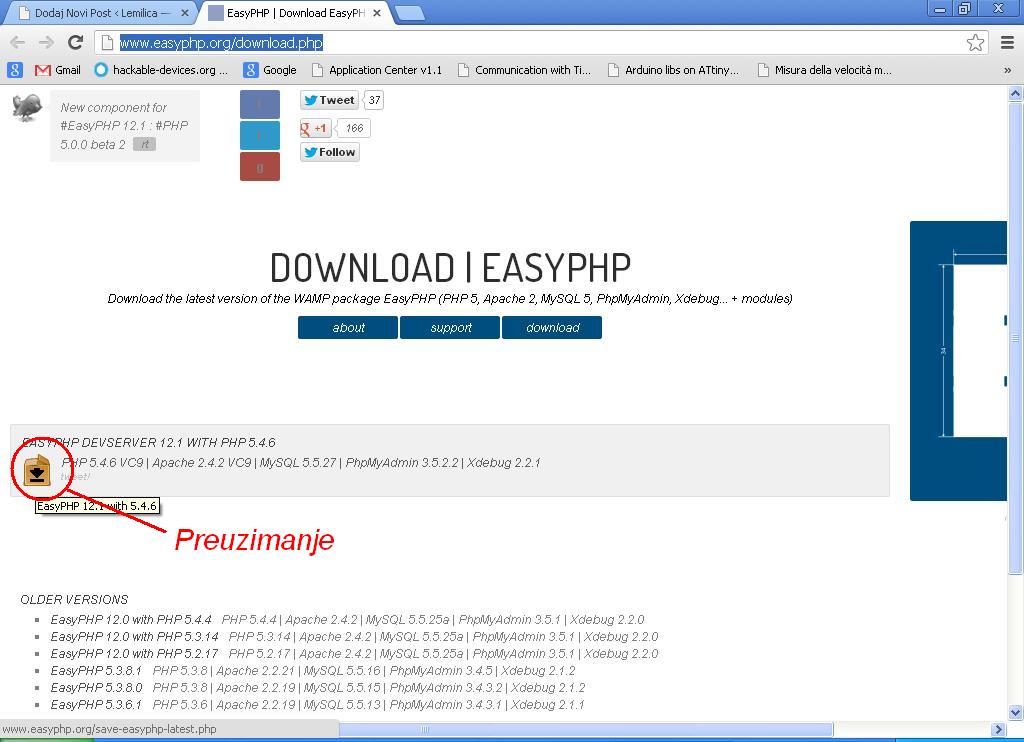
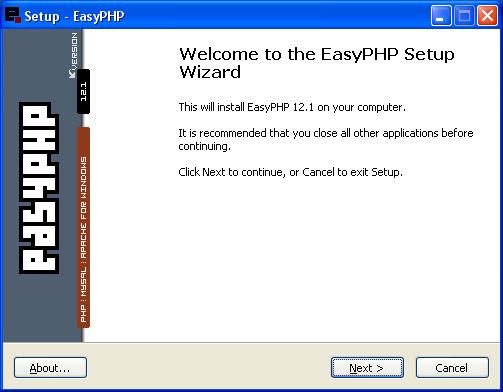
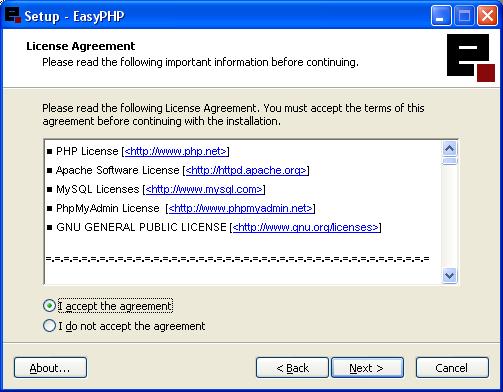
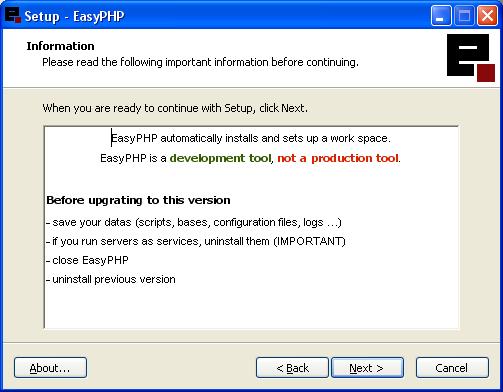
Pokrenemo i slijedimo sličice…
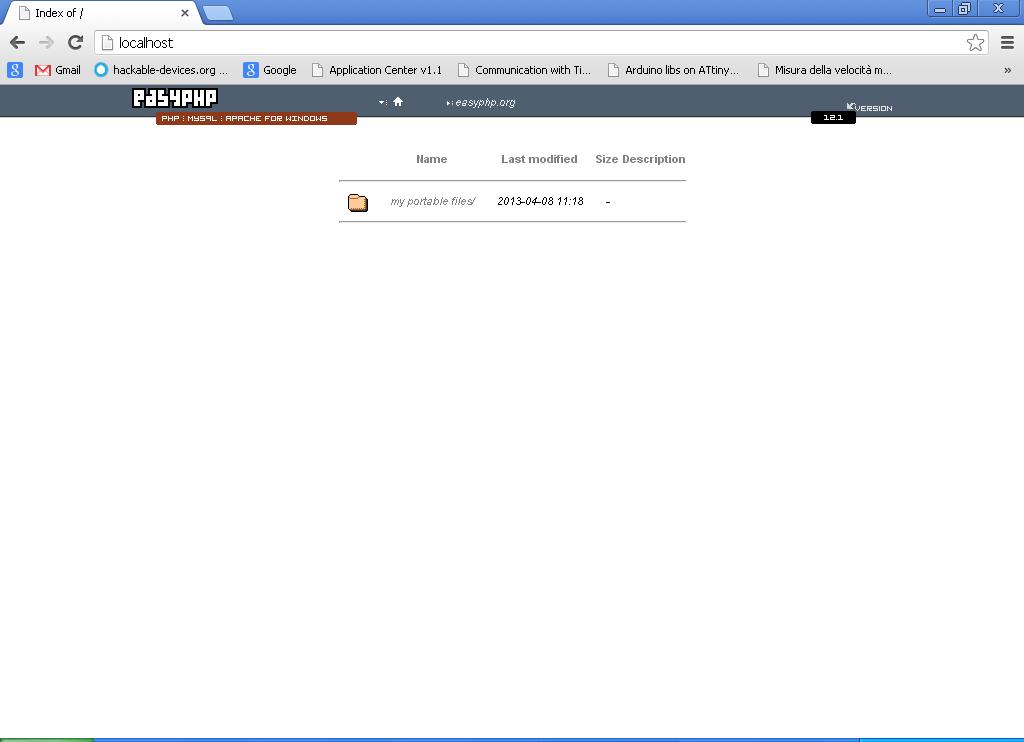
Nakon toga u web browser ukucamo samo pod adresu localhost radi provjere da li sve radi.
Trebali bi dobiti nešto ovakvo.
kliknite na kućicu kada je pronađete i onda izgleda ovako
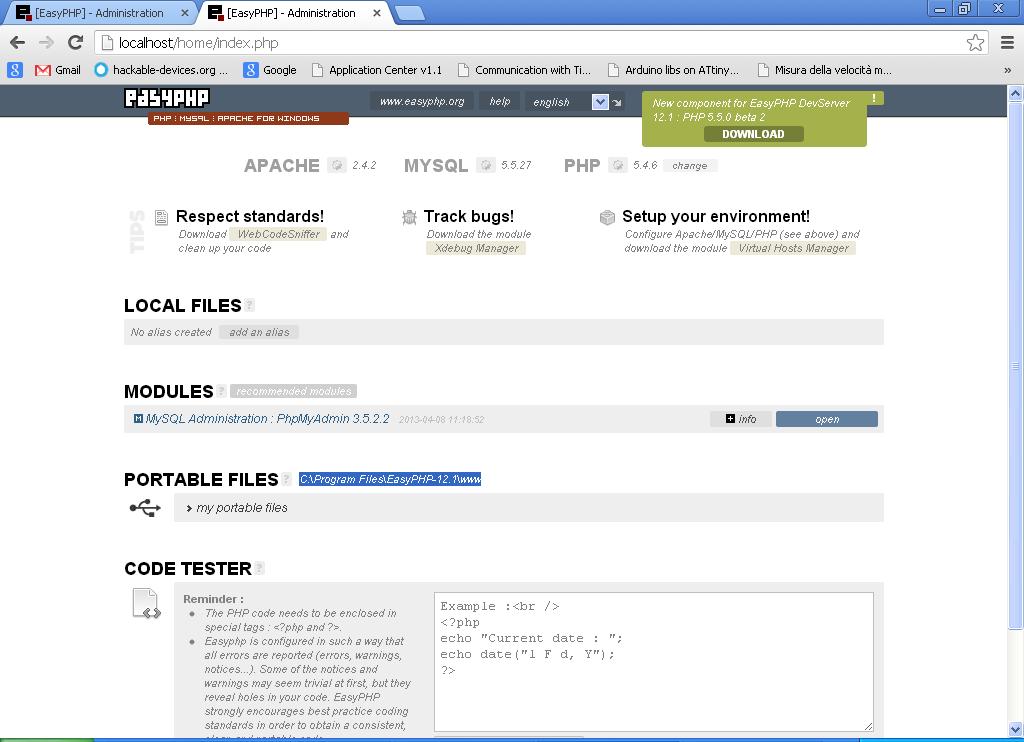
Pronađite gdje piše PORTABLE FILES i na vašem računalu otvorite taj direktorij
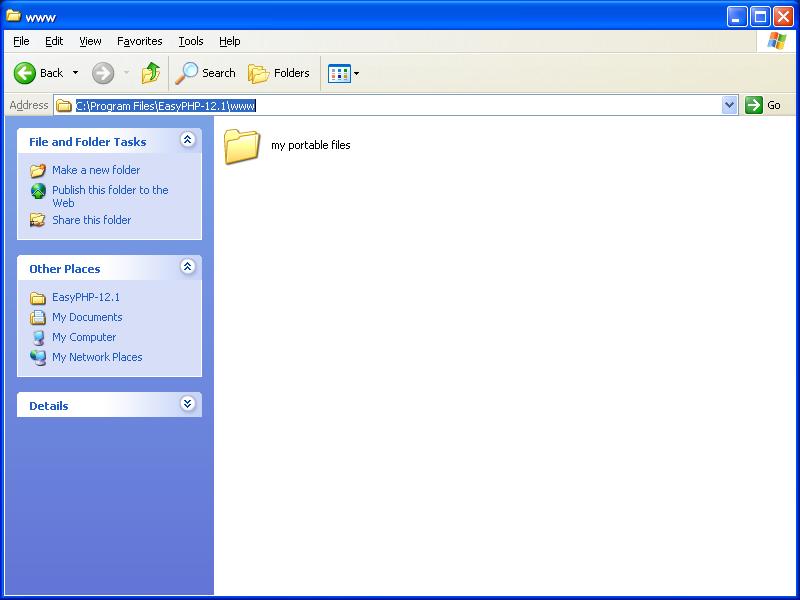
Kreirajte direktorij arduino i uđite u njega i u njega kopirajte index.html, led.php, LEDstate.txt

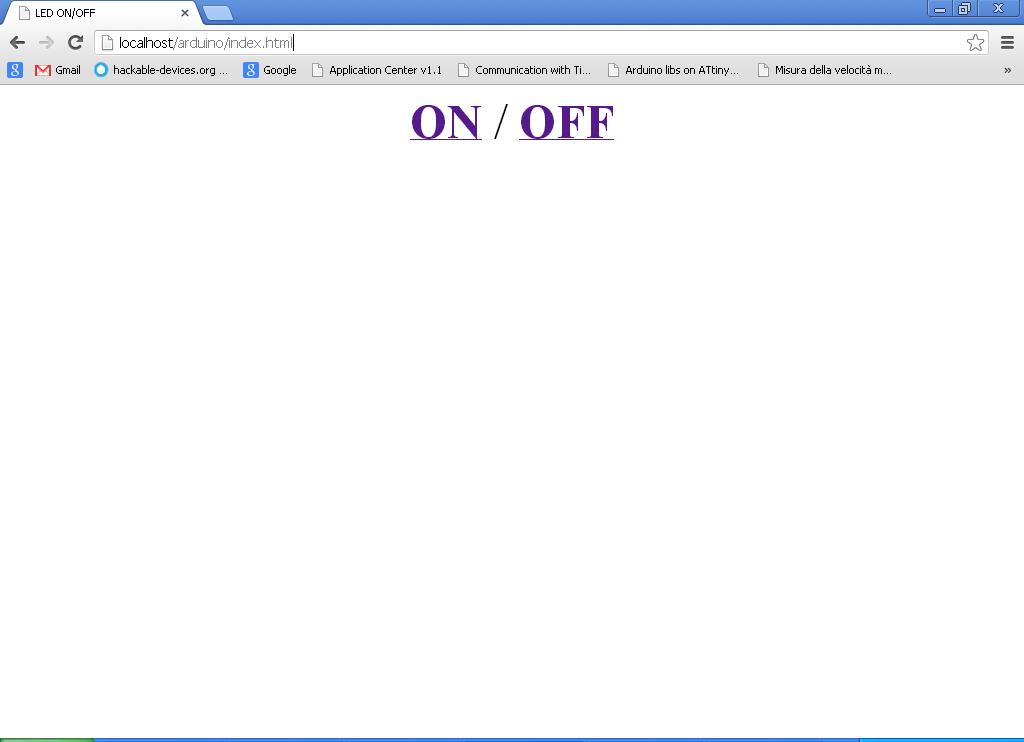
Nakon toga kada u preglednik upišete localhost/arduino
kliknete na ON ili OFF nebi vam trebao skidati nikakav file, ako se to desi onda vam PHP ne radi dobro …
Sve što vam sada treba je kod za Arduino i Kod za Processing
U Arduino Utočite
const int ledPin = 13; // the pin that the LED is attached to - change this if you have a separate LED connected to another pin
int incomingByte;      // a variable to read incoming serial data into

void setup() {
  // initialize serial communication:
  Serial.begin(9600);
  // initialize the LED pin as an output:
  pinMode(ledPin, OUTPUT);
}

void loop() {
  // see if there's incoming serial data:
  if (Serial.available() > 0) {
    // read the oldest byte in the serial buffer:
    incomingByte = Serial.read();
    // if it's a capital H (ASCII 72), turn on the LED:
    if (incomingByte == 'H') {
      digitalWrite(ledPin, HIGH);
    }
    // if it's an L (ASCII 76) turn off the LED:
    if (incomingByte == 'L') {
      digitalWrite(ledPin, LOW);
    }
  }
}
A u Processing ubacite
/*

A simple Processing script for enabling or disabling the LED on an Arduino using a web interface and serial communication.
Author: Sindre Lindstad
Created: 19th of January 2011

http://projects.sindrelindstad.com

*/

 import processing.serial.*;
 Serial port;

 void setup()  {

   /* This part must be altered to fit your local settings. The number in brackets after "Serial.list()" is where you declare what COM port your Arduino is connected to.
      If you get error messages, try a different number starting from 0 (e.g. 0, 1, 2, 3...) . */
    port = new Serial(this, Serial.list()[1], 9600);  // Open the port that the Arduino board is connected to, at 9600 baud

}
 void draw() {

  String onoroff[] = loadStrings("http://localhost/arduino/LEDstate.txt"); // Insert the location of your .txt file
  print(onoroff[0]);  // Prints whatever is in the file ("1" or "0")

  if (onoroff[0].equals("1") == true) {
    println(" - TELLING ARDUINO TO TURN LED ON");
    port.write('H'); // Send "H" over serial to set LED to HIGH

  } else {

    println(" - TELLING ARDUINO TO TURN LED OFF");
    port.write('L');  // Send "L" over serial to set LED to LOW
 }

  delay(7000); // Set your desired interval here, in milliseconds
 }
Pokrenite program u processingu sa tipkom Play
Odite na stranicu http://localhost/arduino
I testirajte da li se pali LED dioda kada pritisnete ON
Nakon pritiska, pričekajte nekoliko sekundi da se promjena desi na Arduinu… Nadam se da će vam nakon ovoga sve raditi :)
OPREZ!!!
nakon default instalacije easyphp-a nije definiran mysql password!!!
evo kako ga promijeniti
Open phpMyAdmin, and click on “Users & Permissions”.
Click on the “modify” link of the user you want to change the password, and follow the instructions.
WARNING: if you set a new password for the “root” user, you will not be able to access phpMyAdmin anymore, or you will need to re-configure phpMyAdmin: edit the “EasyPhp\phpMyAdmin\config.inc.php” file and set your new password with this line $cfgServers[1]['password'].
For Example:
$cfgServers[1]['password'] = 'mynewpassword'